
There are a few types of homeowners in the world—those who like to call professionals for home maintenance, those who can handle some home repairs themselves, and those who consider themselves a "handyman."
No matter where you fall on the spectrum, you'll likely encounter annual home maintenance tasks that require a professional and others small enough that you don't need to speed dial your handyman. With these DIY home maintenance tips, you can (hopefully) save some money and reduce the number of calls you make to a professional.
Basic Home Repairs Everyone Should Know
Learning home repairs that save money is empowering for homeowners and renters, helping to keep your house running smoothly. Often, it allows you to get things done quickly rather than waiting for a handyman’s availability. Thankfully, a few minutes of reading or watching a how-to video should bridge the gaps in your home maintenance repertoire.
1. Learn to shut off the main water supply.
The main water valve controls the water supply for your entire home. An overflowing toilet doesn't necessitate using the main water valve (you can use the knob on the wall behind it), but it is vital for emergencies. A burst pipe, leak, or plumbing repair might require you to shut off all the water.
To find your main water shut-off, start outside. An on/off connection could be attached to an outside wall. Also, look in the basement, garage, utility room, or closet.
2. Unclog a sink or drain.
You may have never thought to use a plunger outside the bathroom. Using the same one applied to clear out unmentionable events is not a great idea, but a secondary plunger is an excellent tool for a clogged sink or bathtub.
3. Clean front-load washers and dryers.
You may not think about cleaning the appliances that clean everyday items. But when you don’t take care of your washer, it stops doing its job correctly, and your clothes are worse for wear. On average, it's best to clean your washer once a month. Front-load washers are a breeding ground for mold and mildew because they don’t completely dry after running a cycle.
Set your washer to the hottest, longest cleaning cycle, add two cups of vinegar and a quarter cup of baking soda, then let it run through the process. Some washers have a self-cleaning cycle. After, add a little water and use a scrubby sponge to wipe down the inside of the drum and rubber seal.
Dryer maintenance is even more straightforward. Aside from clearing out the dryer vent, which you should do before or after each load, you should also clean the dryer duct. Unplug the dryer, pull it away from the wall, and vacuum lint in the duct. Replace the duct or tubing if there's damage. This task falls under the annual home maintenance list and should not be reserved just for your spring-cleaning weekend, as lint buildup can cause an accidental house fire.
4. Re-caulk.
Water from sinks and showers produces a lot of moisture in the bathroom. The humidity affects how effectively the caulk protects the drywall and prevents mold growth. While the presence of mold and mildew growth in the bathroom isn't surprising from time to time, all caulk reaches a point when it's past the point of cleaning and needs to be replaced.
Remove the old caulk with a sharp tool and mineral oil or vinegar. Next, tape the area that needs to be re-caulked, similar to painting trim in a bedroom or living space. With a caulk gun, apply the caulk to the desired location. Finish by smoothing the line with a gloved finger or an ice cube to get a smooth, concave surface.
5. Clean the garbage disposal.
If your sink has a sickening smell, you’re not alone. Most kitchen sinks are used and abused, so show them a little TLC when you can.
Kill the odor by pouring half a cup of baking soda and half a cup of vinegar down each side of the sink. Leave and go about your other chores, or stick around to see the fizz action. After a few minutes, flush everything down with hot water.
Tip: Put the stopper in before the foam spreads beyond the disposal.
If the smell persists, try other methods like lemon juice, or ice and vinegar. If you need something a little stronger, an enzyme product can help break down the bacteria. If things continue to escalate, you might need to get your hands dirty and clear the drain trap yourself, or ditch the DIY home maintenance tips and call a professional.
6. Clean the dishwasher.
Food and grease residue in the dishwasher is normal. That said, if left to build, that residue will leave your dishes dirty and smelly.
Once a month, remove the filter and clean it. Reinstall and fill a cup with vinegar, then place it in a dishwasher-safe container on the upper rack, and run a cycle.
 Photo by Virrage Images Inc via Canva.com
7. Clean gutters and downspouts.
Gutters collect rainwater and direct water away from the roof and foundation. However, they don’t function well when clogged with leaves and debris. This can lead to a rotting or damaged foundation, creating holes for pests to enter your home.
A couple of times a year, some seasonal home maintenance is necessary. After all the fall leaves have dropped, it’s time to clear your gutters. A leaf blower or wet-dry vac works well for this. If you’re not comfortable using a ladder, you can find attachments for your leaf blower to help you reach the gutters with both feet firmly planted on the ground.
8. Install household weatherproofing.
Gaps around windows and doors leak precious temperate air from the house. If you feel a draft when you pass the front door, you likely have a gap and need to install weather stripping.
The hardest part of installing weatherproofing products is deciding which type or filler you need. There's a variety of items, including strips, sheets, and putty, each with its own strengths. If you feel unsure of which method to follow, seek a department expert at Lowe's, Home Depot, or your local hardware store.
9. Fix sticky drawers.
Everyone has had one of these drawers that needs an excessive yank, rattle, or pull. If you’re tired of the effort or your technique no longer works, you can fix this minor issue with a small purchase and a few minutes.
The first thing to try is wax. Paraffin wax is located near the canning supplies at the grocery store or online. Just rub the wax on the edges of the drawer where it sticks. If that doesn’t work or the drawer starts to catch again after some use, purchase nylon tape and run it on the drawer or the shelf where it rubs.
10. Replace air filters.
Replacing the air filter is that annoying chore we frequently forget to do. And maybe that’s because we don’t consider how important it is. Did you know that air filters help support the longevity of your HVAC unit? They also impact the energy efficiency of your home and help prevent mold.
It’s imperative to replace air filters, including ground-level return air vents, every thirty days. If they work with your system, look for filters with a ninety-day lifespan or reusable, assuming you’ll clean them regularly.
11. Patch a hole in the wall.
Wall scrapes, dings, and holes are common nuisances in a home. Rehanging pictures, moving furniture, and kids rough-housing a little too hard inside the house all pose a risk to the walls.
If it’s just a small ding or hole from a screw or nail, use a quick-drying spackle to fill, sand smooth, and cover with touch-up paint.
If it’s significant damage, head to the hardware store to buy a patch kit. They’re easy to purchase and simple to install. You’ll spend less than an hour filling the hole, but longer to paint, as the spackle must be dry.
12. Replace a light fixture.
Brass, brushed nickel, shiny silver—hardware finishes come and go out of style. Whether you're looking to update the fixture or it’s broken and needs replacing, you may be able to make this fix yourself.
To start, shut the power off to the fixture. Since it shouldn’t require any rewiring, this is a simple matter of matching connections and securing the fixture to the ceiling.
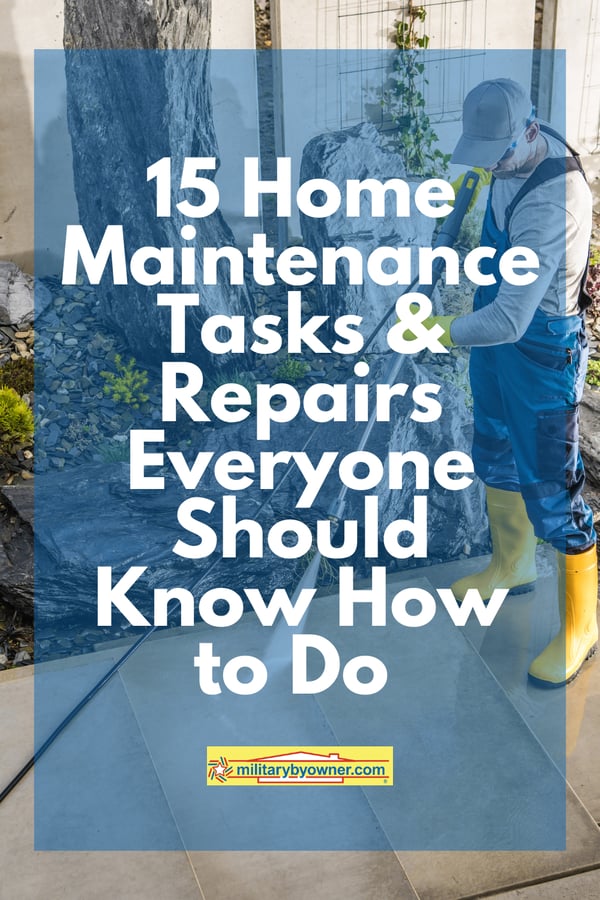
13. Pressure wash.
Have you ever used a pressure washer? The effect is satisfying, and while it can be time-consuming, it has a well-deserved spot on the seasonal home maintenance list. If you don't own one or have a friend to borrow one from, home improvement stores often have them available to rent by the hour or day.
Pressure wash your fence, siding, driveway, patio, or deck, and watch the transformation from dirty and gray to clean and bright. This type of wash is a popular way to remove outdoor mildew stains as well.
14. Replace a window screen.
A torn or broken window screen is a very common household occurrence. Dogs, kids, and, sometimes, rogue birds puncture and tear a screen. Luckily, it’s an easy repair you can do without breaking the bank.
Remove the old screen from the frame, cut the new screen to size, leaving two inches wider than the frame, and pull the screen tight over the edge. Next, push the excess screen into the channel using a screen roller. Last, wedge the spline into the channel to secure the screen and finish by trimming the extra material.
 Photo by mirsad sarajlic from Getty Images via Canva.com
15. Replace outlet covers.
Replacing an outlet cover is as simple as unscrewing and replacing a few screws. For a fast and inexpensive upgrade, either repaint the outdated cover color or purchase entirely new covers with a modern style.
When You Shouldn't Do Your Own Home Repairs
Learning to handle tasks around the house without help is worthwhile for saving money and cultivating skills that are transferable from house to house. That said, without professional training, you shouldn’t try to fix everything.
If the outcome could result in extra damage, costing you exponentially more, or severely injuring yourself or the house, it’s better to let a professional handle the repair.
Home repairs to leave to the pros:
- Electrical rewiring
- Asbestos removal
- Mold removal
- Major plumbing
- Roofing
- Structural changes or modifications
- Pest infestation
- Water damage
More Home Maintenance Help
For a solid foundation and a leg up on preventive home maintenance, here’s a collection of information to follow:
- Year-Round Home Maintenance: Keep up with home maintenance chores all year long with this checklist.
- Spring Home Maintenance Checklist: Spring brings with it unpredictable weather. Use this checklist now to avoid problems later.
- Summer Home Maintenance Checklist: Summer is the perfect time to pay attention to inside and outside household chores.
- Fall Home Maintenance Checklist: Fall maintenance is important because it’s the foundation for securing your home against rain, snow, and dipping temperatures.
- Winter Home Maintenance Checklist: Time to prepare and get your home ready for winter.
It’s time to take your handyman off speed dial and get comfortable with your ability to tackle home maintenance tasks. Keep in mind that not every task is suitable for a DIY approach. It's best to evaluate the cost and risk with any home repair you dive in head first.
Stay updated with more information for homeownership and more with our free newsletter below.