 Your mission, should you choose to accept it, is to clean the hidden reaches of your home.
Whether you're about to PCS or your home is simply ready for a deep clean, no need for Tom Cruise! This mission may change from "impossible" to "easily possible" when armed with a few handy housecleaning tools.
On your next trip to a discount store, take a looksee for a shower caddy. This plastic container has a handle in the middle and is often used by college kids to carry toiletries to and from dormitory bathrooms. By gathering the supplies you need into one handy carry-all, household chores may be completed in record time.
Consider including the following items when filling up a cleaning caddy:
- Microfiber cleaning cloths: These highly absorbent cleaning cloths are ideal for dusting, sweeping, and wiping down surfaces. Reusable, these cloths may be tossed in the washing machine and hung to dry.
- Sponges: Without spending a lot of money, you may find a sponge with a combination of scouring pad and foam. Much like a high school PE coach, a sturdy sponge may have a rough side and a soft side.
- Plastic scraper tool or plastic knife: With this handy plastic scraping tool, you may rid any soap scum lingering in the shower. Also, a scraper may come in handy when removing stubborn spots in the nether regions of the oven.
- Scrub brush: Consider a scrub brush with an easy to grip handle. With bristles that are stiff on the outside and soft on the inside, you and this brush may vanquish even the most diabolical level of mildew.
- Extendable dusting tool: Topped with a feathered brush or microfiber cloth, this dusting tool may stretch in length to take your cleaning chores to new heights. Or, go all MacGyver and place a microfiber cloth (or an old sock!) on the end of a yardstick. Secured by a rubber band, your dusting tool may now reach those lofty cleaning goals and duck behind headboards and underneath furniture.
- Toothbrushes: Often available at discount stores, inexpensive toothbrushes may be stored in your cleaning caddy. Nine out of ten homeowners recommend using toothbrushes for a deep clean in hard-to-reach places.
- White "eraser" sponges: Made of melamine foam, these sponges easily remove scuffs and grime from baseboards and tile. Also, they may come in handy when your little Picasso decorates your living room wall with crayon or magic marker.
As for cleansers, save green and go green!
In her post Green Cleaning Creates Less Waste For Your Next PCS, MilitaryByOwner staff writer Karina Gafford suggests budget- and earth-friendly cleaning products. Three reasonably priced items are:
- White Vinegar
- Borax
- Baking Soda
If your “clean sweep mission” focuses on the kitchen, consider the following tips.
To revive the shimmer of your stainless steel appliances, give this idea a whirl:
- With white vinegar in a plastic spray bottle, fully spray down the unit.
- Using a soft microfiber cloth wipe the vinegar off in the direction of the grain-- the grain runs either horizontally or vertically.
- Now dip the cloth in a small amount of olive oil.
- With the oiled cloth, polish the unit in the direction of the grain.
The oil and vinegar will remove fingerprints, help repel water stains and bring out the sparkling silver shine.
If you're playing the “What’s that smell?” game near your kitchen sink, look no further than your garbage disposal.
- Start with dish soap and a scrub brush to clean the sink basin and the protective folds of the disposal.
- Insert the drain plug and run the faucet to fill the basin half full with water.
- Add a little vinegar and/or dish soap to the water.
- Turn the disposal on and unplug the drain. The emptying sink will flush out any remaining residue.
- For further cleaning, add a cup full of ice cubes and a half cup of Kosher salt to the disposal.
- Turn it on and any lingering gunk will soon be ground away.
- Top it off with a fresh scent. Harness the power of citrus and peel a lemon or orange and run through the disposal.
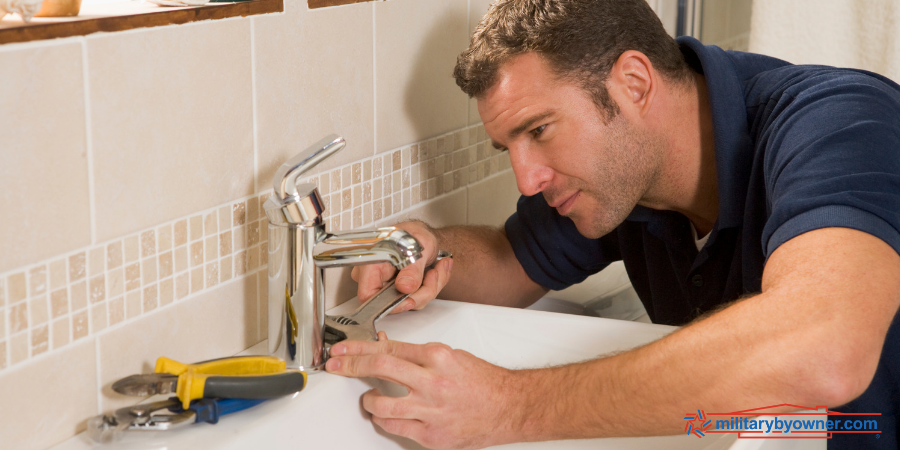
If you don't have a full stream of water from your faucet head, mineral deposits may have clogged it. Consider this option to get you back in the flow.
- To protect the finish of your appliance, wrap electrical tape around the jaws of a plier. Use the plier to unscrew the aerator at the end of the faucet head.
- Keep track of the parts as you remove them--I use my smartphone to take a quick photo to know which order to put it all back together.
- Soak the parts in vinegar for 15 minutes or longer.
- Brush clean with a toothbrush and use a toothpick to remove any stubborn bits.
- Rinse with hot water and reassemble.
- This may also work with a clogged head on a sink sprayer hose. If the head is not removable, pull the hand held sprayer out and place it into a bowl of vinegar to soak.
- A similar approach may be used with a showerhead. Place vinegar in a plastic bag and tie around the showerhead to soak.
- After the vinegar bath, a thorough scrub with a toothbrush should loosen up any residue on the sprayer head or showerhead.
Jets of water should soon flow more freely after these tidying tasks.
I'm sorry to say, it may finally be time to evict whatever that fuzzy green thing is in the back of the ‘fridge.
While sorting the contents of the refrigerator shelves and cleaning the interior, you may also need to look out for what lurks below. The dark and spooky nooks and crannies often collect dust and pet hair.
- With a microfiber cloth, clean the floor underneath as best you can and replace the kick plate.
- Using a vacuum attachment, clean out the area around the coils.
- Remove the kick plate where the ‘fridge meets the floor.
- Some refrigerator coils are on the backside. If this is the case, unplug the unit and carefully wiggle it forward.
- Gently vacuum the coils on the back of the unit.
- Wipe down the unit, surrounding wall, and floor with hot water and a microfiber cloth.
- When dry, carefully move the unit back in place and plug it back in.
- Double check the water line to the refrigerator in case it may have come loose during transition.
An in-depth cleaning around the coils of a refrigerator may help it use less energy by running more efficiently.
While preparing for a PCS, it may be a good idea to tidy up the things around your house that might be overlooked. With the suggestions mentioned here, and a focus on the mission at hand, a spotless home may be your priceless reward!